20
Winkelwagentje
Totaal:$1,918.95
-
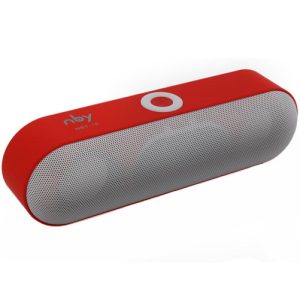
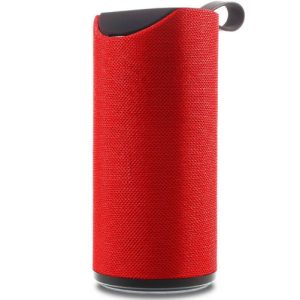
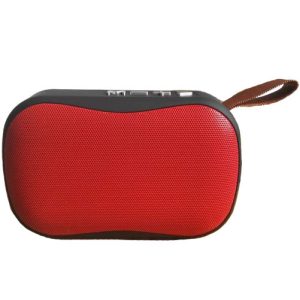
 Boxa Portabila Bluetooth umeline DF19, Slot Card, Gri-Rosu
1 × $62.30
Boxa Portabila Bluetooth umeline DF19, Slot Card, Gri-Rosu
1 × $62.30 -
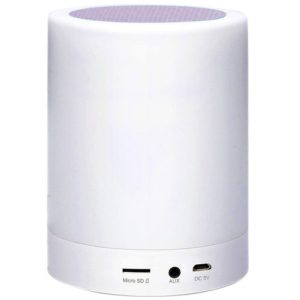
Boxa Portabila Bluetooth cu Lampa umeline M16, Slot Card, Multicolor, Silver
1 × $34.30
-
Bratara Fitness umeline M88 Plus, Display OLED, Bluetooth, Pedometru, Notificari, Android si iOS, Galben
1 × $78.00
-
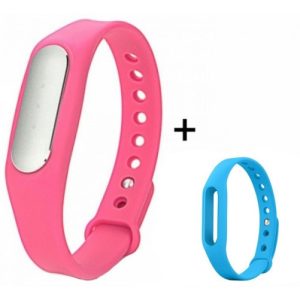
Bratara fitness umeline Mi1 Galben + Curea de schimb Roz
2 × $14.25
-
Boxa Portabila umeline DF22, Slot Card, USB, AUX-IN, Rosu
1 × $34.30
-
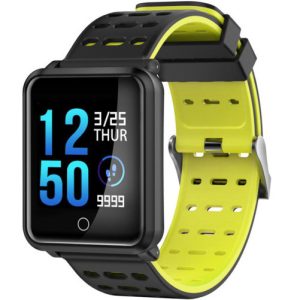
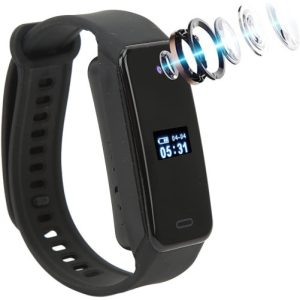
Bratara Fitness umeline DM68i Plus, Display OLED, Monitorizare puls, Pedometru, Notificari, Compatibil Android si iOS, Rosu
1 × $86.25
-
Bratara fitness umeline Mi1 Roz + Curea de schimb Albastru
1 × $14.25
-
Bratara fitness umeline Z6i, LCD 0.69 inch, Bluetooth, Activity and Sleep, Galben
1 × $48.00
-
Bratara fitness umeline Mi1 Portocaliu + Curea de schimb Galben
1 × $14.25
-
Boxa Portabila Bluetooth umeline DF14, USB, Slot Card, Rosu
1 × $55.30
-
Bratara Roca Vulcanica unisex, umeline B1 Lady Dark Grey
1 × $29.00
-
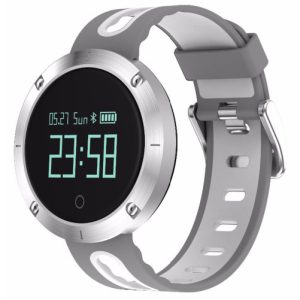
Bratara fitness umeline N2Si, Display LCD, Monitorizare Sedentarism, Masurare Puls si Nivel Oxigen in Sange, Pedometru, Silver
1 × $66.75
-
Bratara cu Camera Spion umeline W050, Wi-Fi, HD, Reportofon, Audio-Video, Foto
1 × $233.10
-
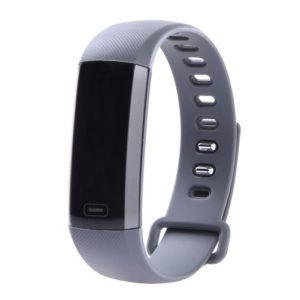
Bratara Fitness umeline DM58 Plus, Waterproof, Display OLED, Ceas, Pedometru, Monitorizare puls, Notificari, Alb-Gri
1 × $93.75
-
Stick USB Spion Reportofon umeline STK100, 16GB, 18 ore Autonomie, 180 ore inregistrare
2 × $111.60
-
Adaptor HDMI umeline iDragon USB C Dock, compatibil cu Samsung Galaxy S8
1 × $99.50
-
Camera Spion in Priza de perete umeline PR1, Wi-Fi, Full HD, Senzor miscare
2 × $359.10
 Boxa Portabila Bluetooth umeline DF19, Slot Card, Gri-Rosu
 Boxa Portabila Bluetooth cu Lampa umeline M16, Slot Card, Multicolor, Silver
 Bratara Fitness umeline M88 Plus, Display OLED, Bluetooth, Pedometru, Notificari, Android si iOS, Galben
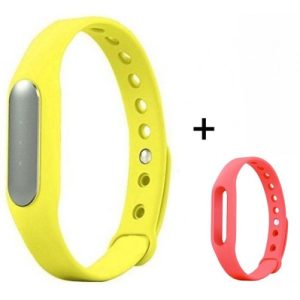 Bratara fitness umeline Mi1 Galben + Curea de schimb Roz
 Boxa Portabila umeline DF22, Slot Card, USB, AUX-IN, Rosu
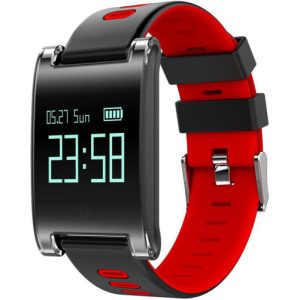 Bratara Fitness umeline DM68i Plus, Display OLED, Monitorizare puls, Pedometru, Notificari, Compatibil Android si iOS, Rosu
 Bratara fitness umeline Mi1 Roz + Curea de schimb Albastru
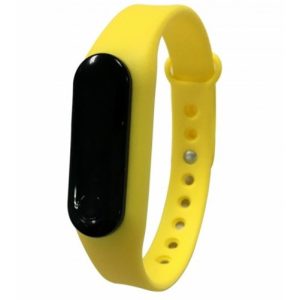 Bratara fitness umeline Z6i, LCD 0.69 inch, Bluetooth, Activity and Sleep, Galben
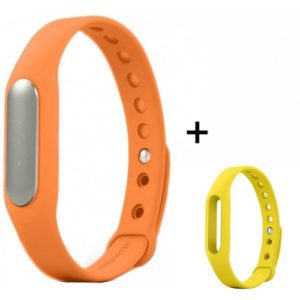 Bratara fitness umeline Mi1 Portocaliu + Curea de schimb Galben
 Boxa Portabila Bluetooth umeline DF14, USB, Slot Card, Rosu
 Bratara Roca Vulcanica unisex, umeline B1 Lady Dark Grey
 Bratara fitness umeline N2Si, Display LCD, Monitorizare Sedentarism, Masurare Puls si Nivel Oxigen in Sange, Pedometru, Silver
 Bratara cu Camera Spion umeline W050, Wi-Fi, HD, Reportofon, Audio-Video, Foto
 Bratara Fitness umeline DM58 Plus, Waterproof, Display OLED, Ceas, Pedometru, Monitorizare puls, Notificari, Alb-Gri
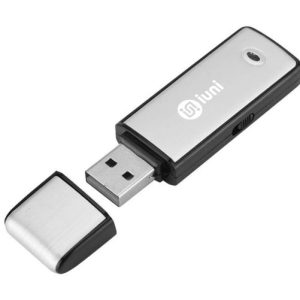 Stick USB Spion Reportofon umeline STK100, 16GB, 18 ore Autonomie, 180 ore inregistrare
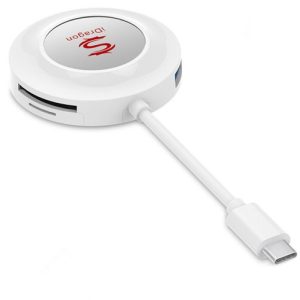 Adaptor HDMI umeline iDragon USB C Dock, compatibil cu Samsung Galaxy S8
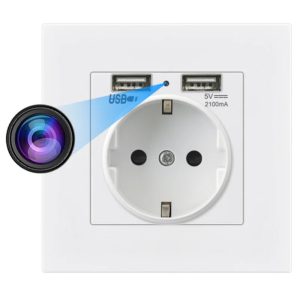 Camera Spion in Priza de perete umeline PR1, Wi-Fi, Full HD, Senzor miscare